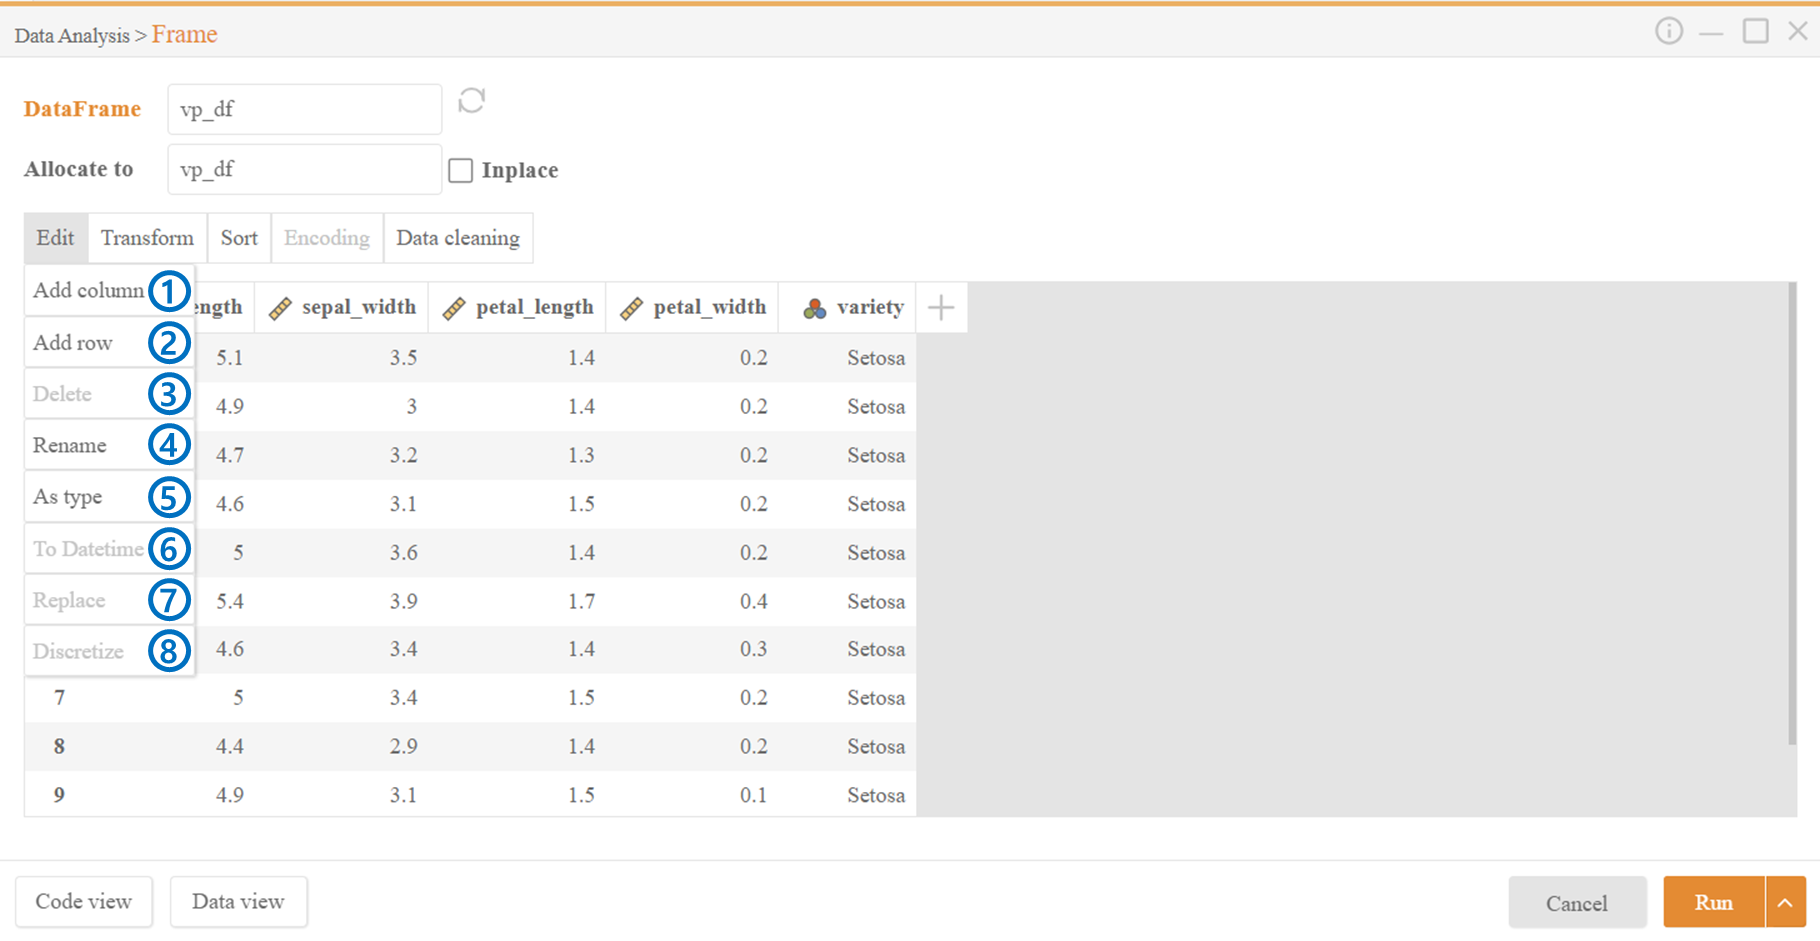
4-1. Frame - Edit
Add Column adds a new column next to the last column.
Add Row adds a new row at the end.
Delete allows the deletion of one or multiple selected columns.
Rename allows the renaming of column names.
As Type enables the change of data type for the values in the column.
To Datetime converts one or multiple selected columns to the Datetime format.
Replace allows changing the values in one or multiple selected columns.
Discretize divides the continuous data in the column into intervals or categories. Works for one column only.
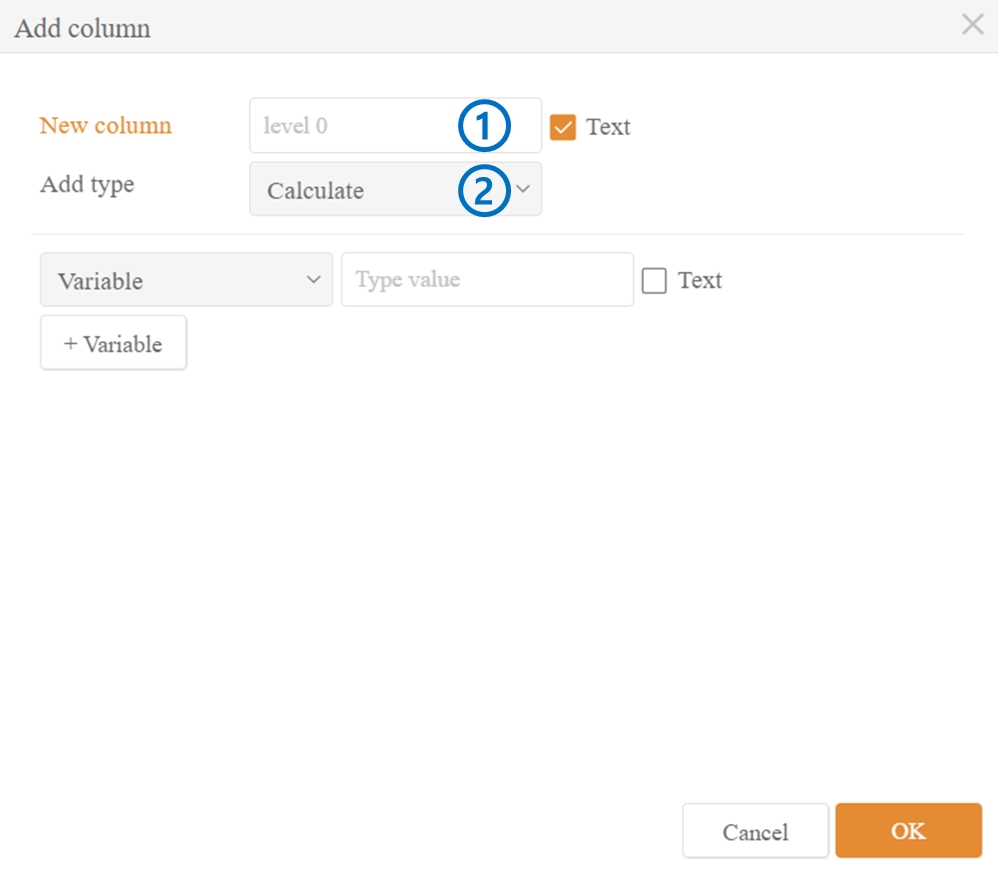
Add Column
Enter the name of the column to be added in New Column.
Select the type of the column to be added.
2-1. Calculate: You can simply add specific data to the column or add calculated values between variables using +Variable.
2-2. Statistics: You can add statistical property values between one or multiple columns to the column.
2-3. Replace: You can convert values in a specific column to different values and add them to the column.
2-4. Condition: By providing specific conditions, you can transform values that meet those conditions into different values and add them to the column.
2-5. Apply: Allows for more complex conditions to be applied.
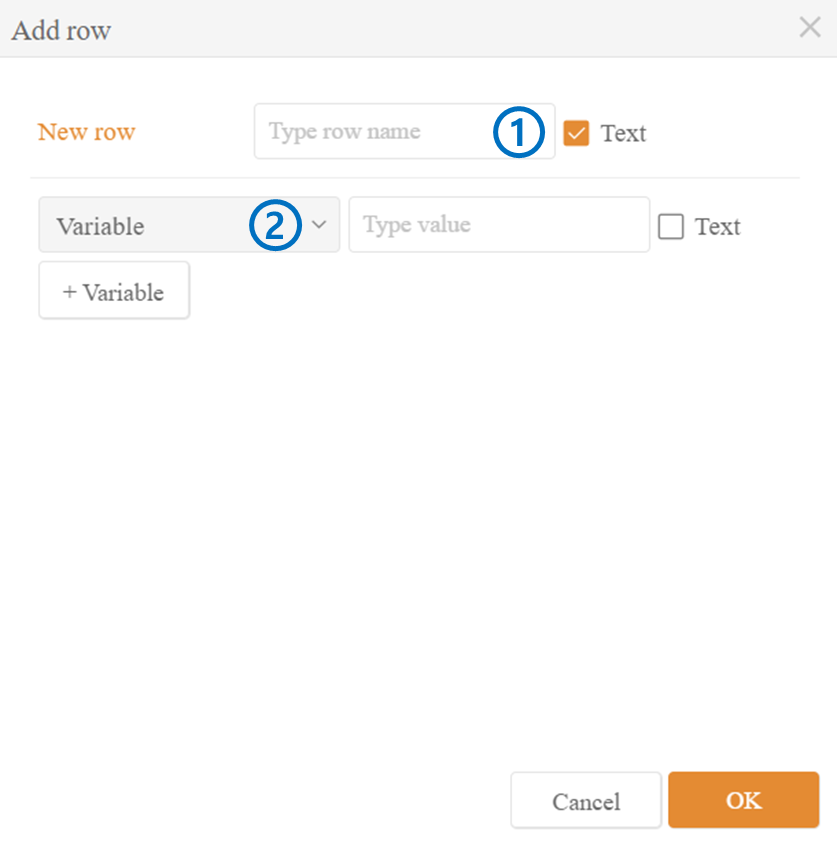
Add Row
Enter the name of the row to be added in New Row. The name will be used as the index.
Select the type of the row to be added.
2-1. Variable: Enter the values to be added to the new row. You can also add calculated values between variables using +Variable.
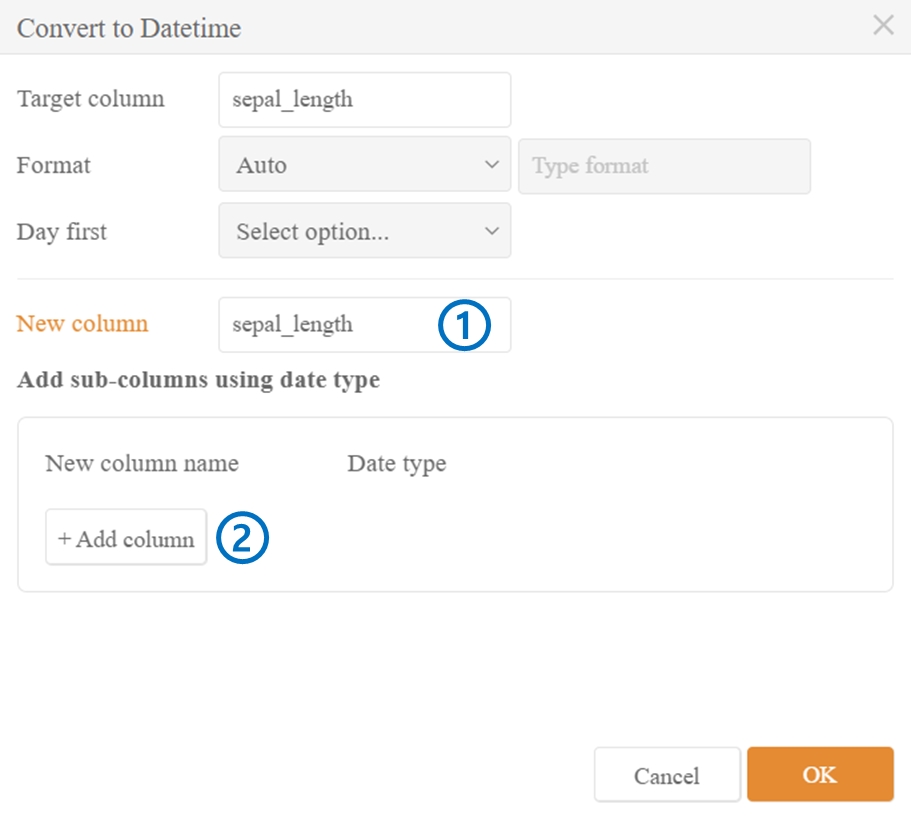
To Datetime
The name entered in New Column becomes the new name for that column.
Using +Add Column, you can add the transformed values to the last column.
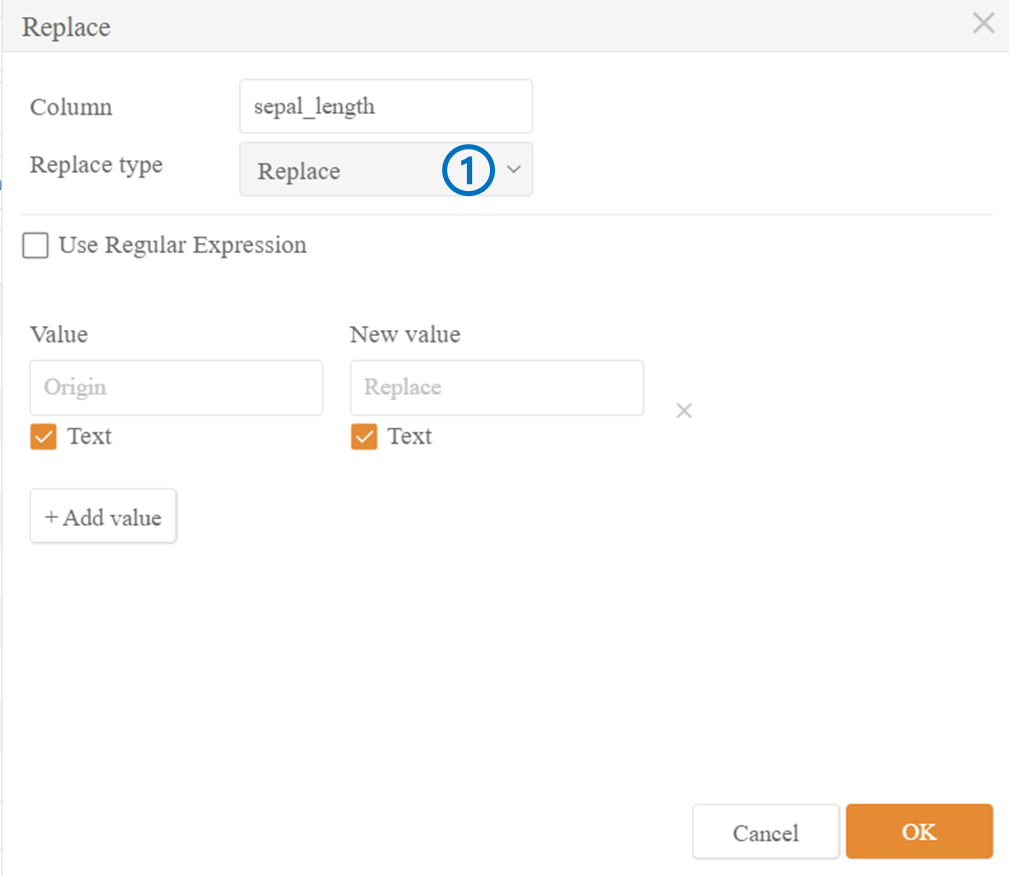
Replace
Choose the method of modification.
1-1. Replace changes the values entered in Origin to the values entered in Replace.
1-2. Condition provides specific conditions and changes values that meet those conditions to different values.
1-3. Apply: Allows for more complex conditions to be applied.
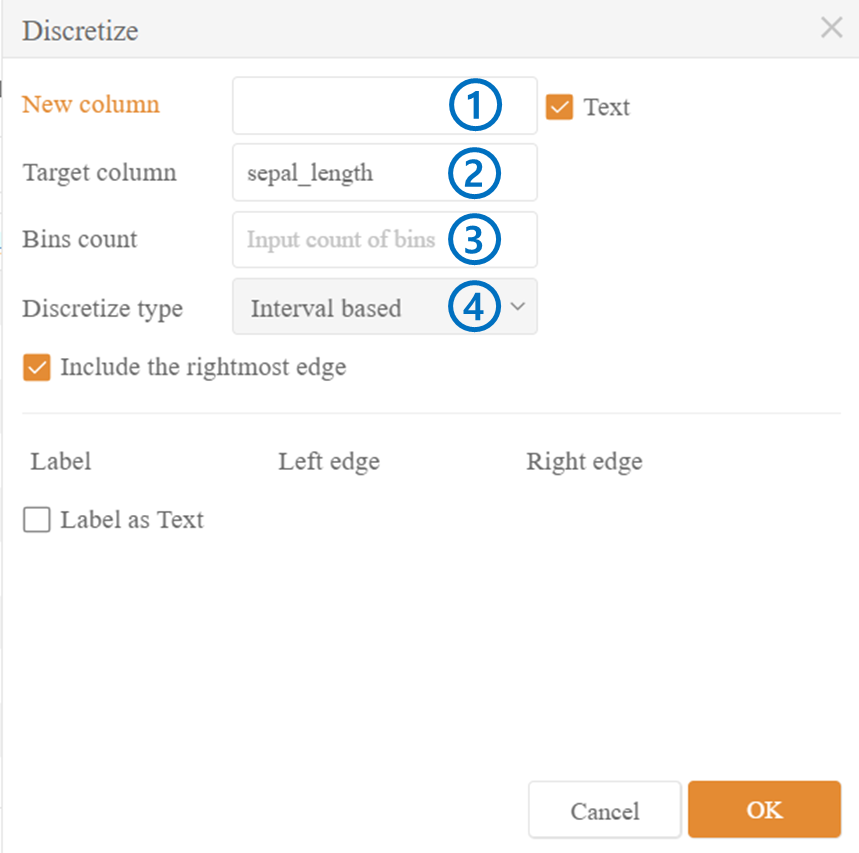
Discretize
New Column: Enter the name for the new column where the results of the operation will be displayed.
Target Column: Displays the selected column for the operation.
Bins Count: Set the number of intervals.
Discretize Type: Choose the type of discretization. Intervals will be created based on the count set in step 3.
4-1. Interval based: The intervals have equal spacing.
4-2. Quantile based: Intervals are set based on the quantiles of the data's distribution.
4-3. Direct Input: Allows direct input to modify labels and interval spacing.
Last updated